One of the reasons that people taut steel as an idea material to make bicycle frames out of is because you can repair it. This is true. For the most part one is able to take a broken steel bicycle frame and repair or replace or redo whatever has happened to it. The thing is, more often than not it's not actually worth the investment in time, money, and materials to do it. Sure I could fix your 1970s Schwinn LeTour. But you could just go out and buy another one for a tenth the cost of having the repair done.
Sometimes though, it is worth it. If your bike is a really nice classic or custom frame, or if it has great sentimental value, it might be worthwhile to have it repaired. Case in point: This week I did a top tube replacement on a beautiful Independent Fabrications MTB. It had acquired a signifiant dent somewhere along the line and the top tube eventually cracked through. About four hours of work later it's all ready to go off to the painter. For your consideration I snapped some pics of the process to show you what goes into something like this. I hope you find it interesting.
So if you think that you might want to have us do a repair on your frame, feel free to contact us for a free consultation.
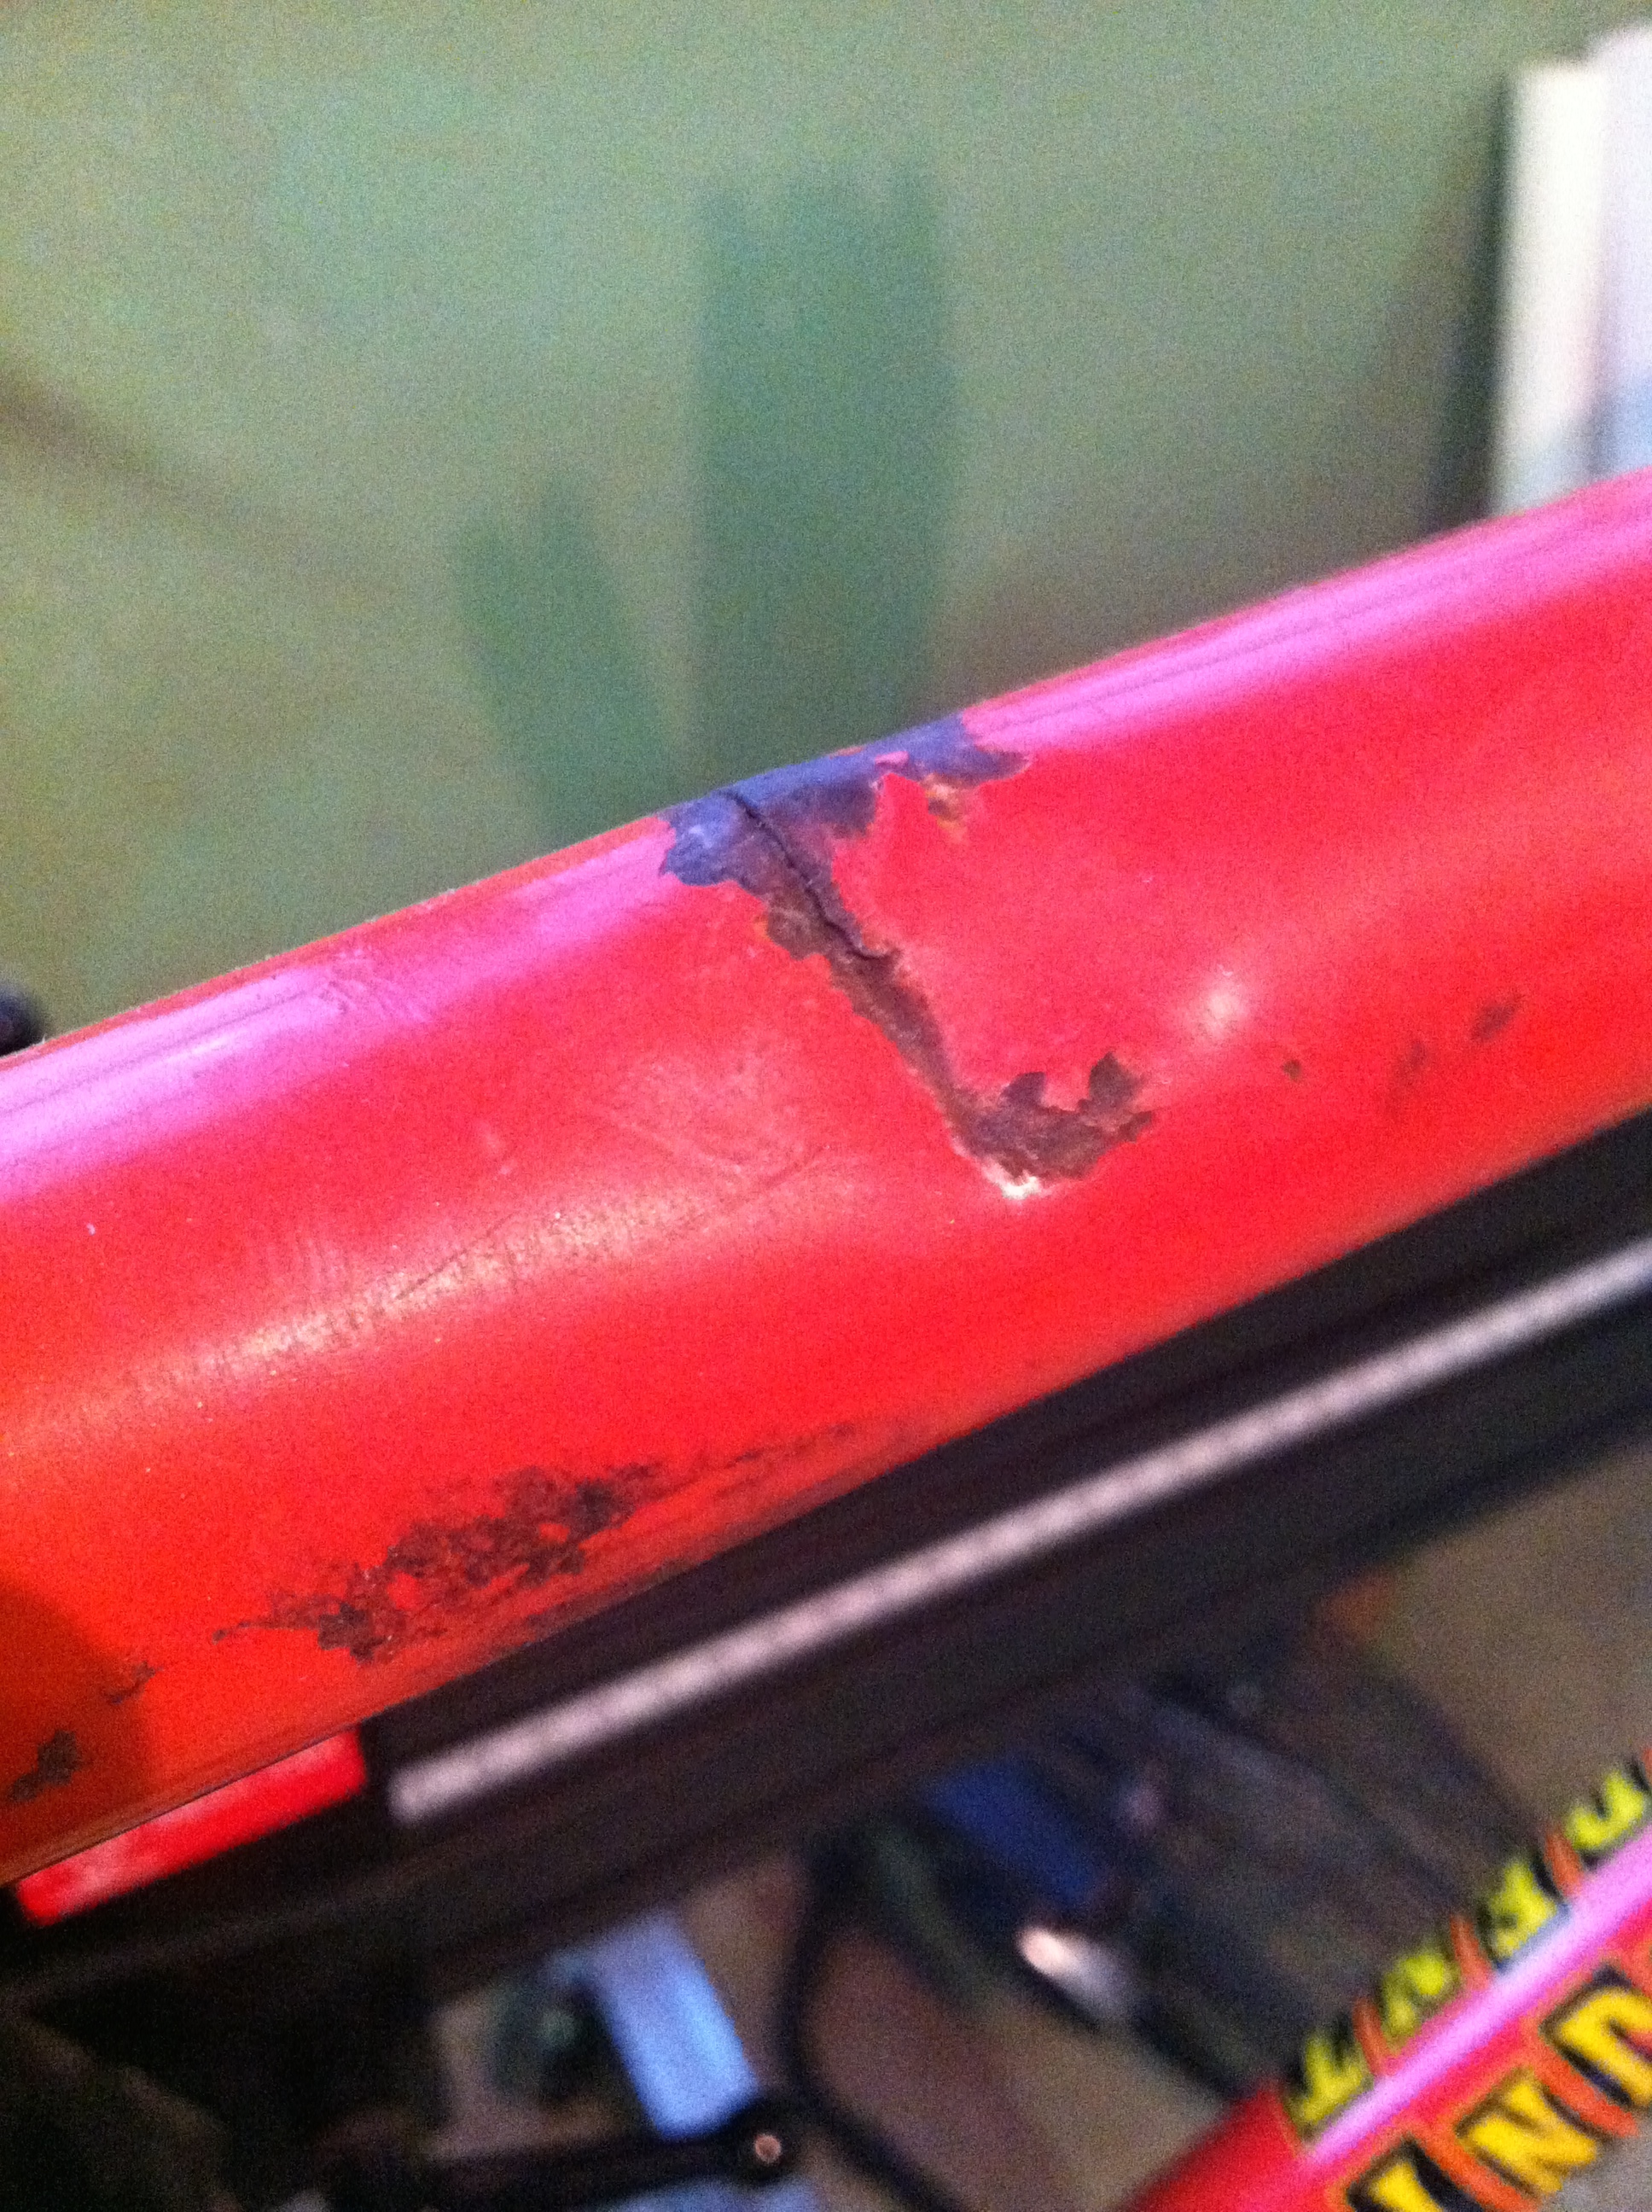
The offending dent. In addition to the crack, there was also a lot of rust on the interior of the tube. Completely unsafe to ride.

Step one, setting the frame up in the frame fixture. This will hold everything in place when tacking in the new tube.

Quick work with the angle grinder.

Going...

Going...

Gone.
The other side too.

I made a quicky drawing of the tube and the junctions at the ST and HT. This allows me to get the proper angles and length to miter the tube at. The frame blocks are part of my mitering system. They keep the cuts in phase with each other.

To the mill! The Cincinnati doing what it does best...

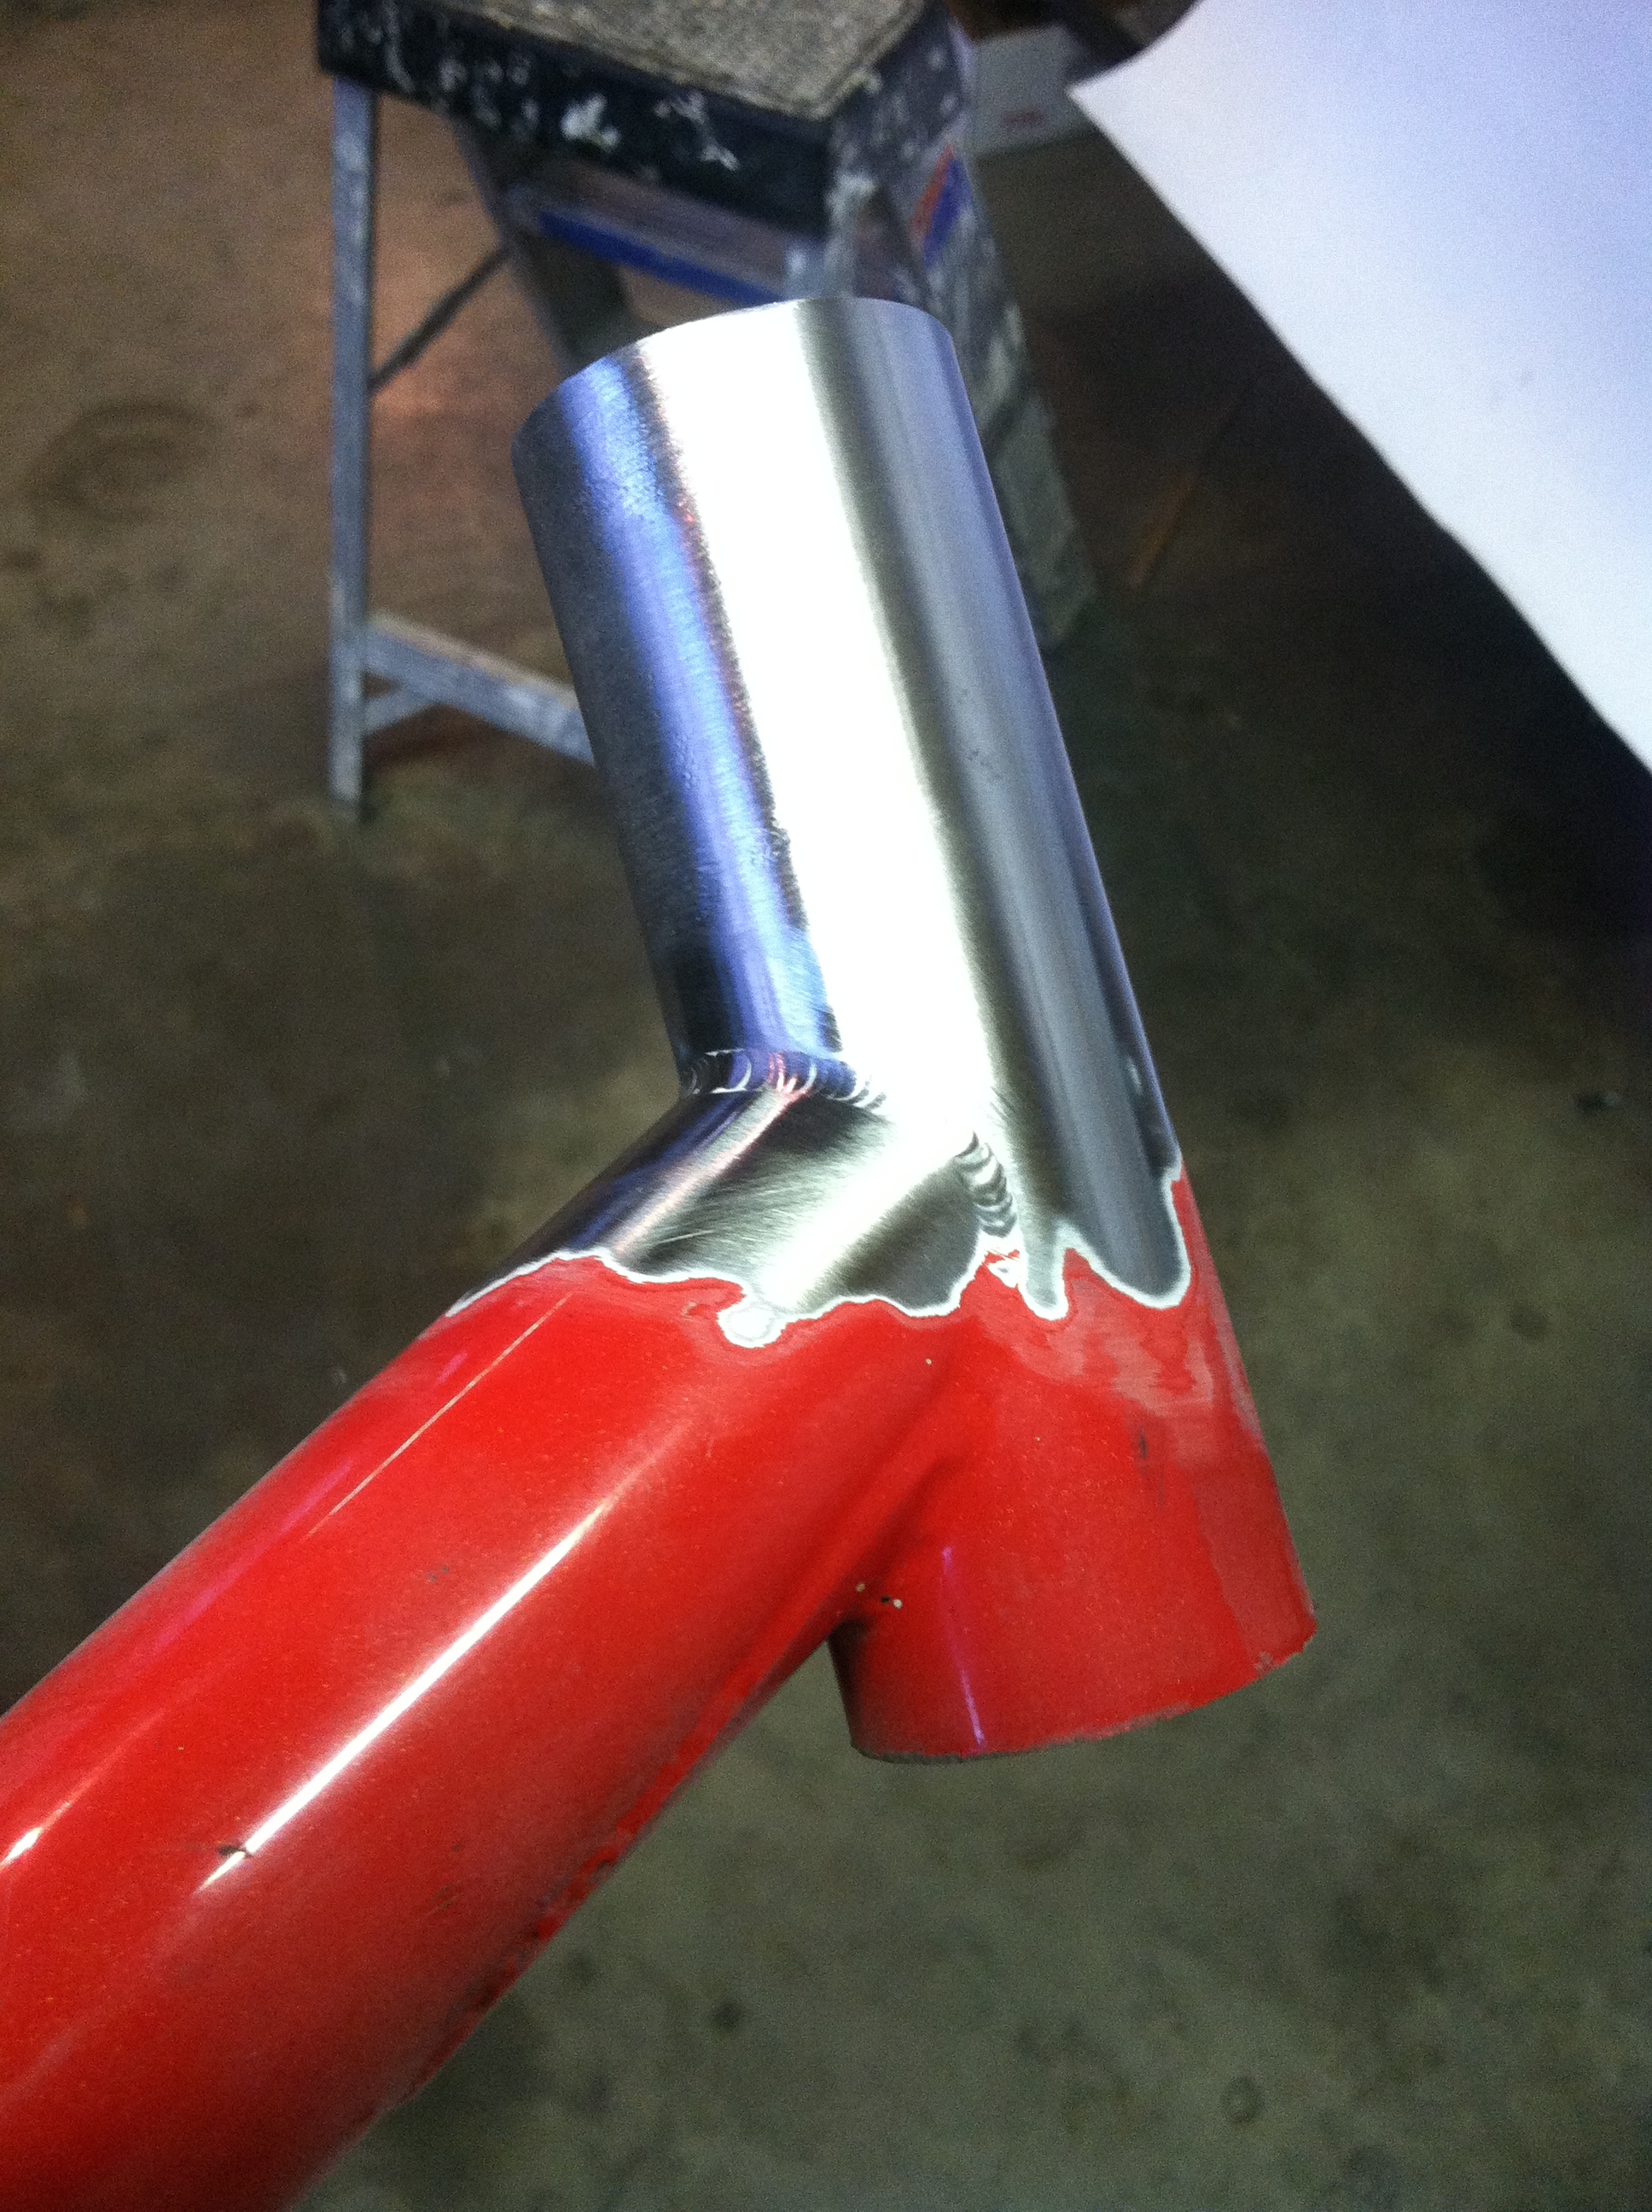
After both sides are mitered the tube is prepped and fitted to the frame in the fixture. The tube is tacked in place here and welded outside of the fixture. Didn't get any action shots of me welding, I don't seem to have enough hands to weld and take pics at the same time.
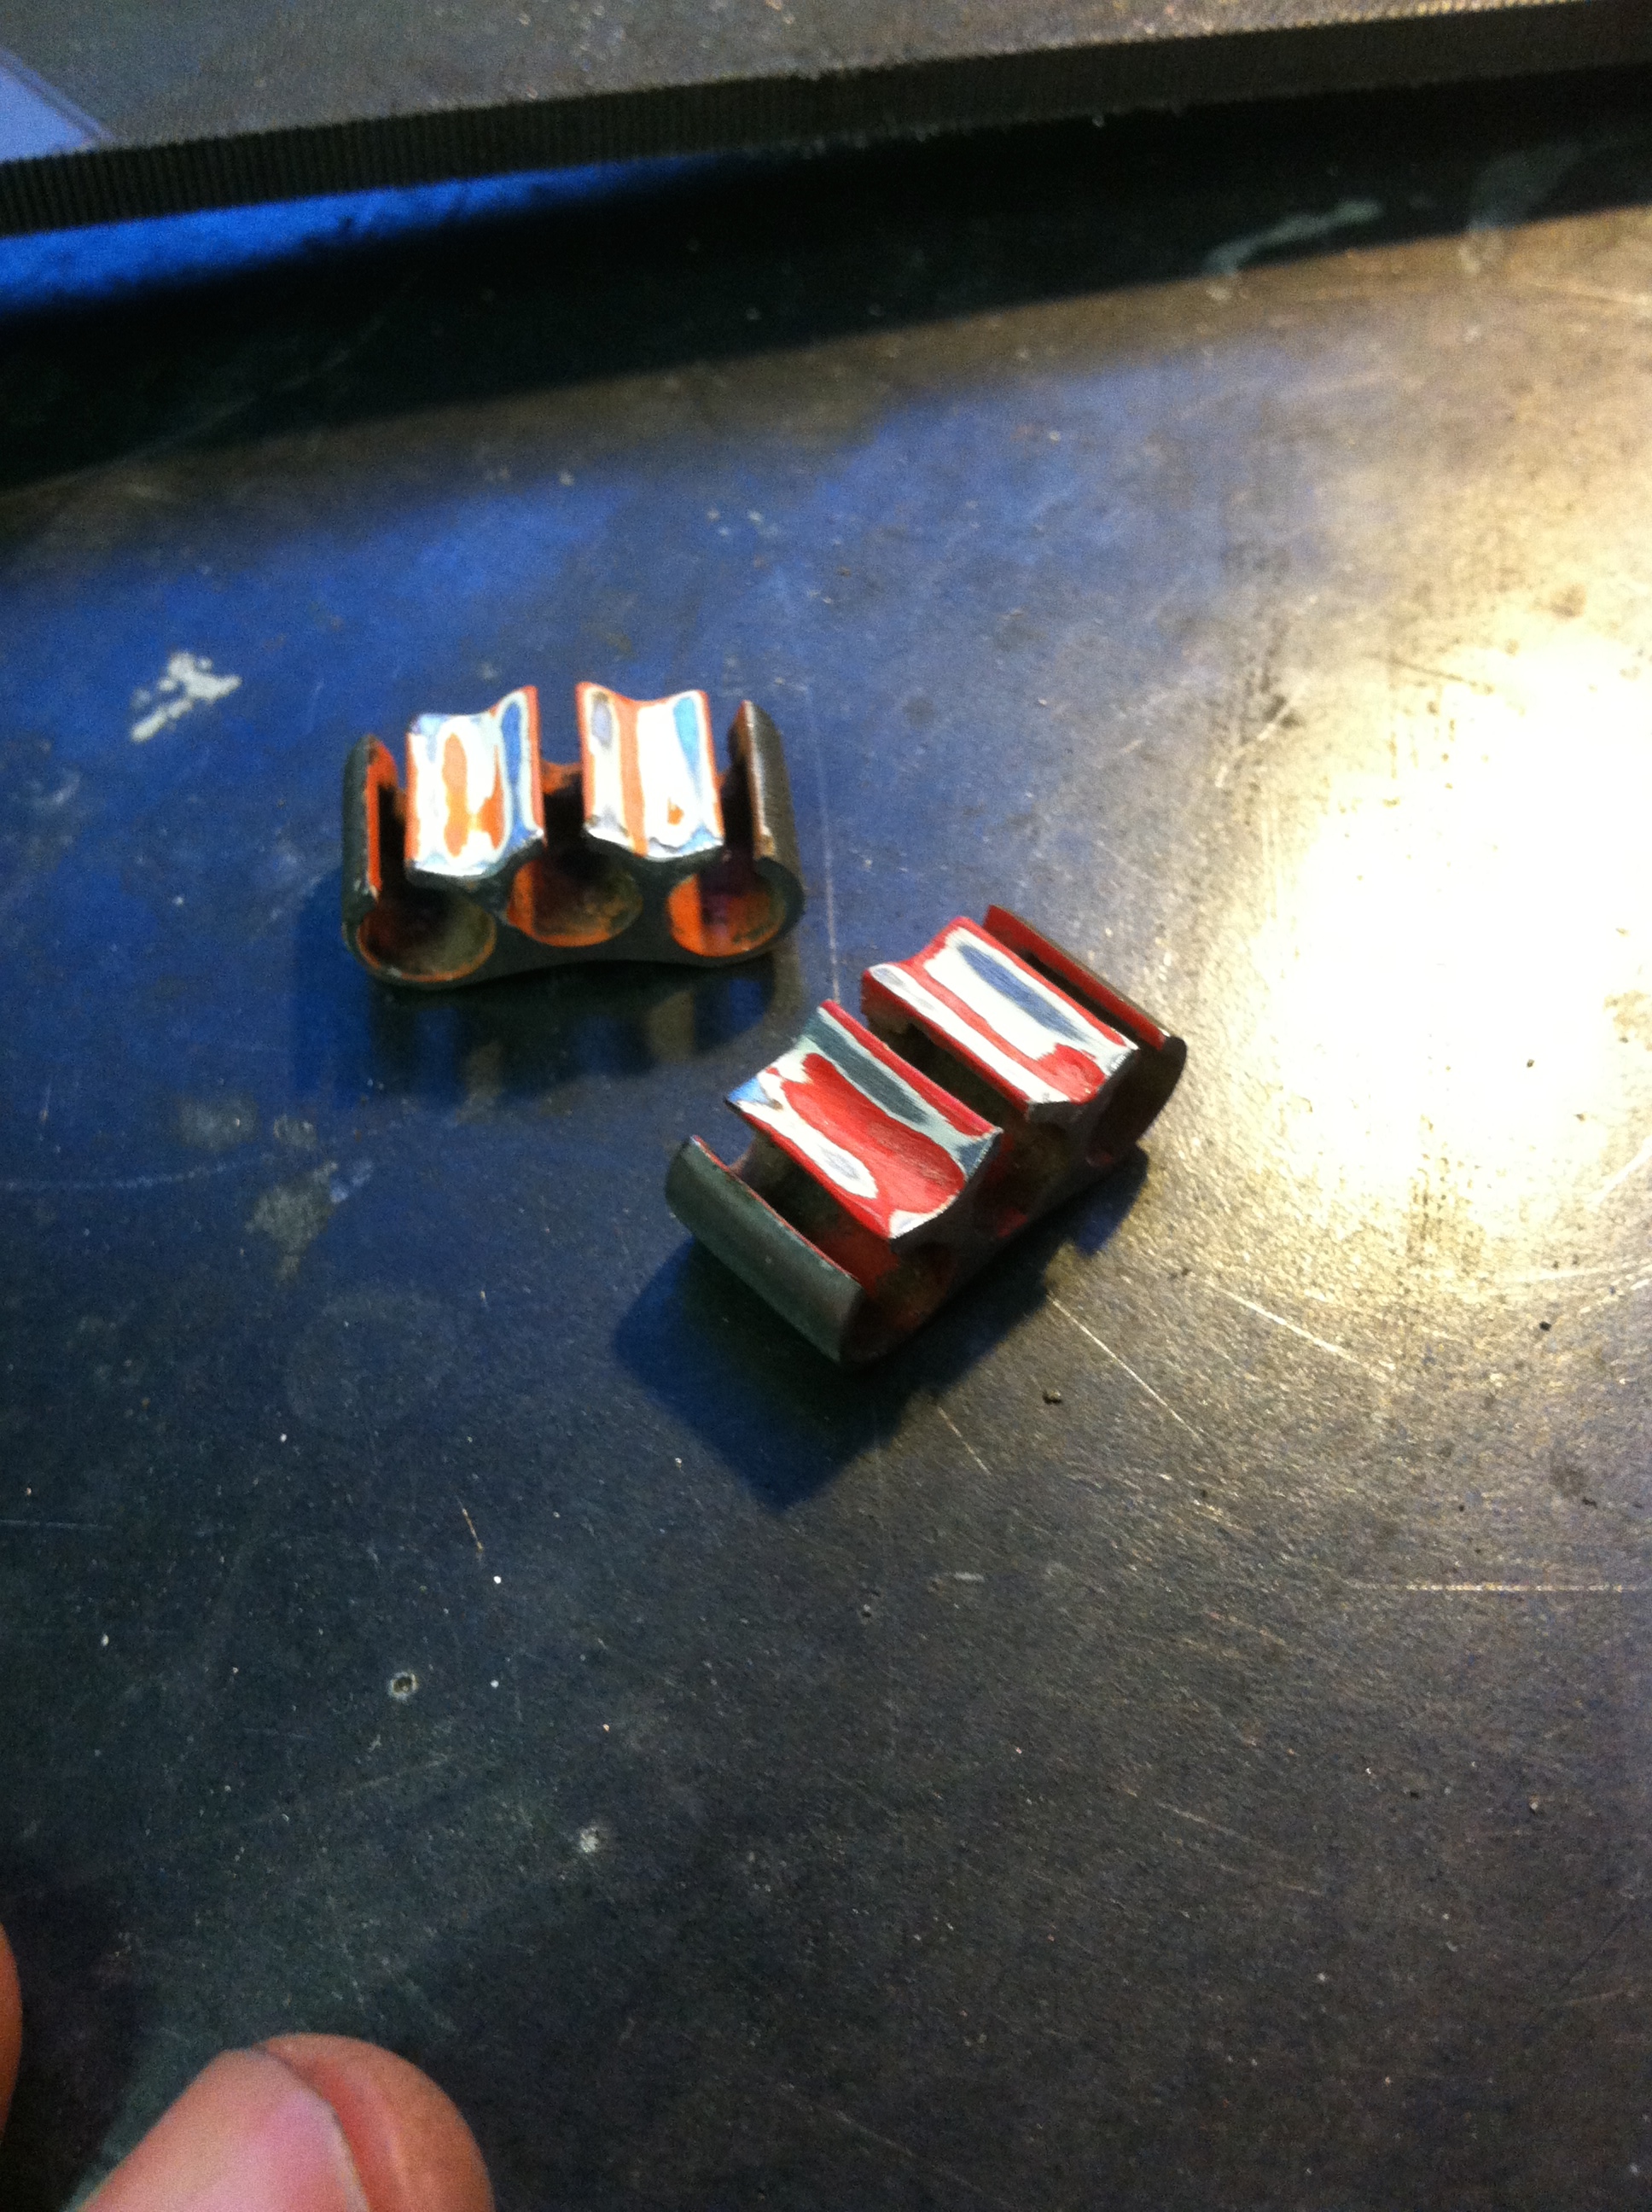
Didn't have any matching cable stops in my stock, so I removed the old ones from the old TT and cleaned them up enough that the paint wouldn't interfere with brazing.

More fixturing. This time using high temp magnets to hold the cable stops in place while brazing. After brazing, the frame goes into the soaking tank to remove the flux.

Out of the soak tank. A quick alignment check. (It was spot on...). And voila!!!